Gathering proper requirements is the foundation of a successful project. It ensures that both the project team and the client are aligned on goals, deliverables, and expectations. This blog outlines the essential steps to achieve clarity and precision in requirement gathering.
1. Initial Client Meeting
- Understand the project’s purpose, goals, and constraints: Start by identifying the client’s overall vision for the project. Discuss the specific goals they want to achieve and any technical or budgetary constraints that need to be considered.
- Prepare questions that relate to project development: Having a list of prepared questions ensures you gather essential information. Ask about the target audience, expected features, preferred technologies, and anticipated challenges.
- Discuss the client’s objective and challenges points: Encourage the client to share any previous experiences, pain points, or potential risks they foresee. Understanding their concerns early helps in crafting realistic solutions and avoiding future roadblocks.

2. Document Everything
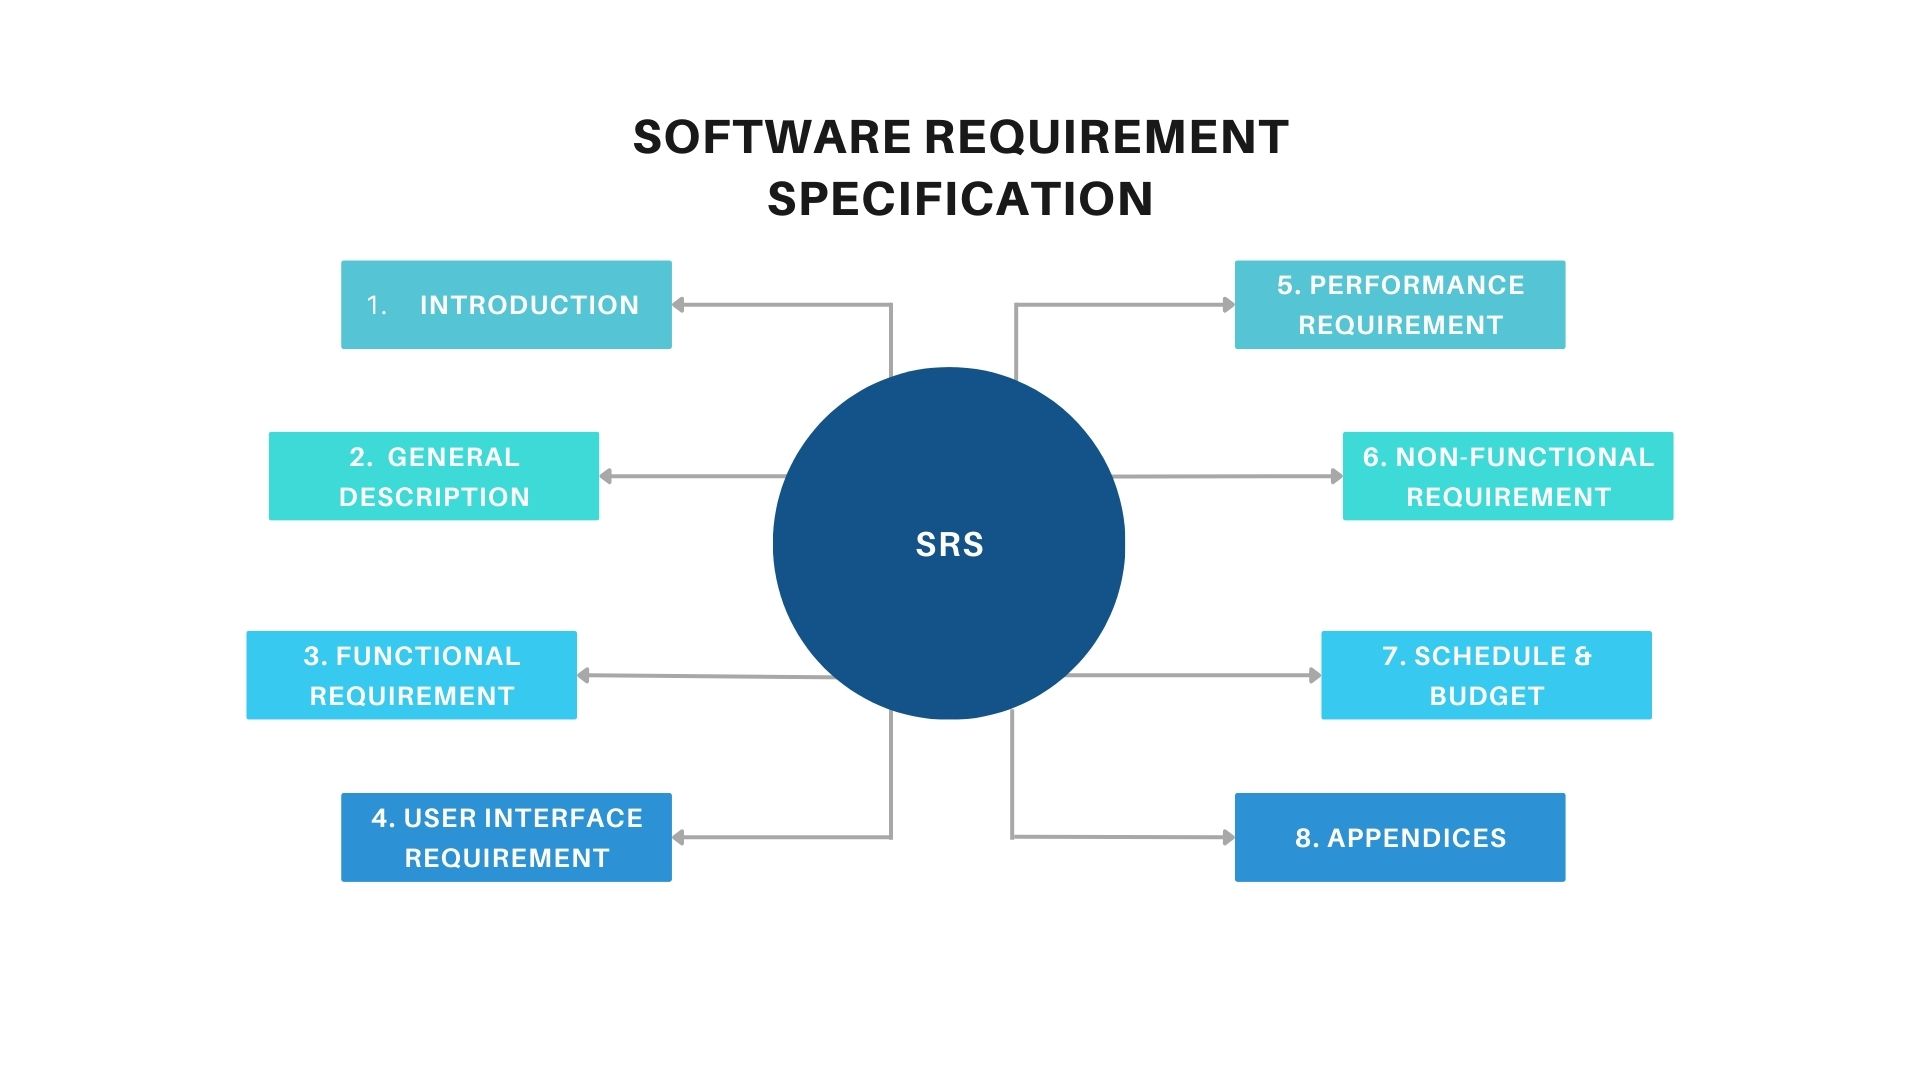
- Use documents like Software Requirement Specification (SRS) and user stories: A Software Requirement Specification (SRS) provides a detailed outline of the project’s functionalities, technical requirements, and constraints. Meanwhile, user stories help break down the application’s features from an end-user perspective, making it easier to prioritize tasks and track progress.
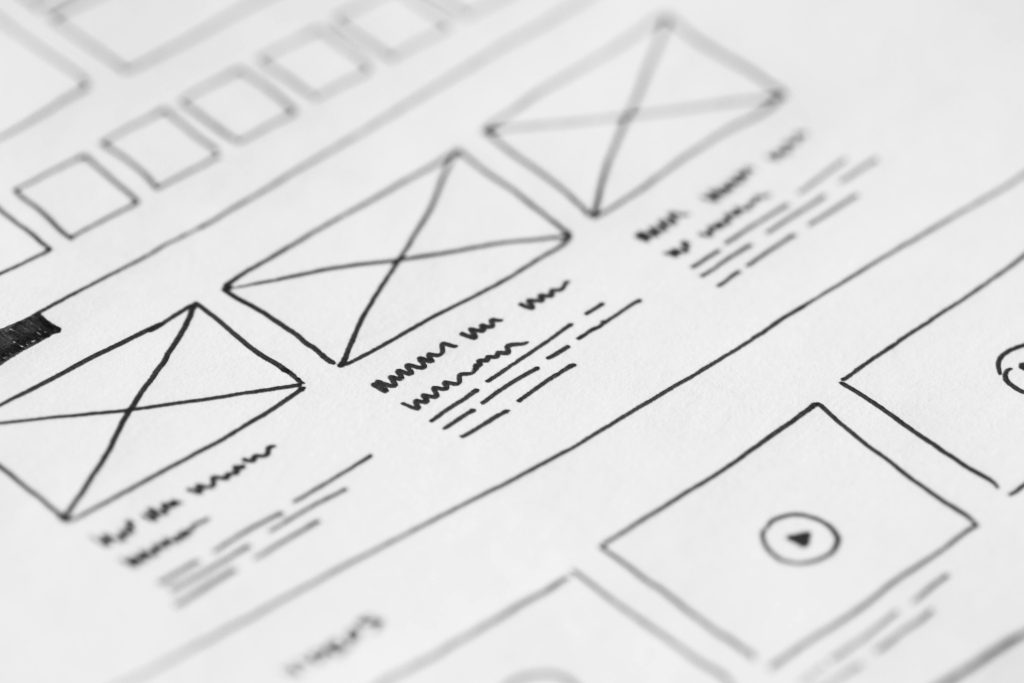
- Incorporate visuals such as wireframes and flowcharts: Visual documentation enhances understanding and improves collaboration. Wireframes provide a skeletal layout of the user interface, while flowcharts illustrate user navigation, data flow, and system interactions. These tools help developers and stakeholders visualize the end product before development begins, reducing errors and unnecessary revisions.
3. Use Visual Aids
- Present mockups, prototypes, or diagrams to clarify expectations: Using mockups and prototypes allows clients to visualize the design and functionality of the project before development begins. Diagrams, such as system architecture or process flows, help illustrate complex workflows and interactions, ensuring all stakeholders have a shared understanding.
- Incorporate iterative feedback to refine requirements: Gathering client feedback at different stages of development ensures the final product aligns with their expectations. Iterative improvements, based on feedback from wireframes, clickable prototypes, or UI mockups, help refine the design and functionality before full-scale development, reducing costly revisions later.

4. Validate Requirements
- Collaborate with QA and testers to identify inconsistencies: Involving Quality Assurance (QA) teams and testers early in the process helps detect gaps, ambiguities, or contradictions in the requirements. Conducting feasibility checks ensures that the defined features are practical and can be implemented effectively without unexpected issues.
- Perform requirement walkthroughs with the client: A structured requirement walkthrough with the client helps verify that all expectations are met. Walking through each feature, functionality, and constraint ensures that both parties have a clear understanding before development begins. This process reduces misunderstandings, enhances collaboration, and prevents costly rework.

5. Client Sign-Off
- Obtain formal approval to ensure mutual agreement: A client sign-off serves as confirmation that the requirements, deliverables, and expectations have been reviewed and accepted. This step helps prevent scope changes and miscommunications later in the project.
- Use digital or physical signatures for confirmation: Depending on the client’s preference, approvals can be secured using digital signatures (via tools like DocuSign or Adobe Sign) or physical signatures on agreement documents. Keeping a signed record of approvals provides a reference for accountability and helps avoid disputes in later stages.